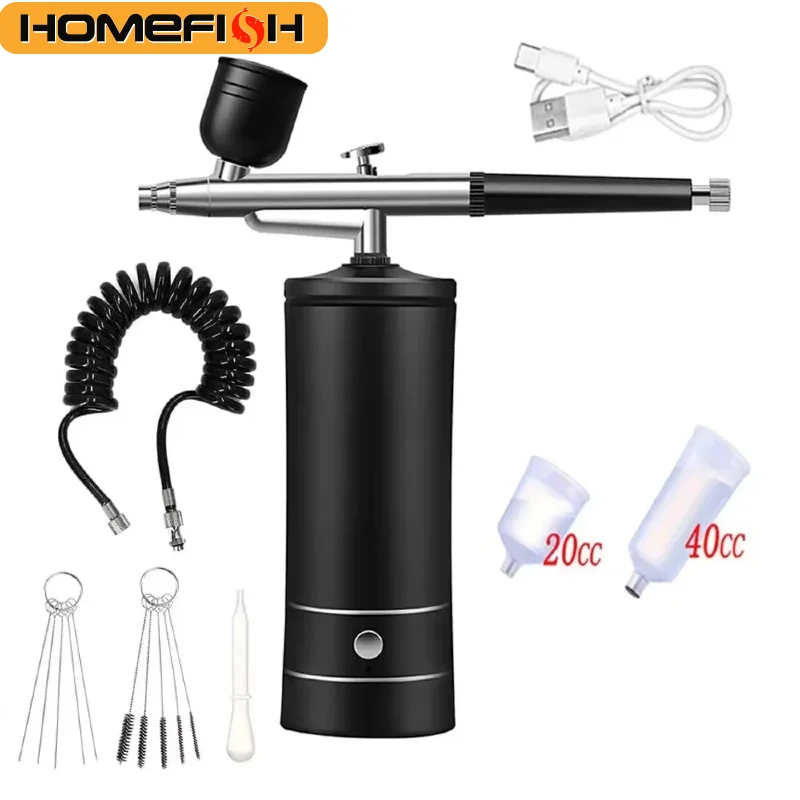
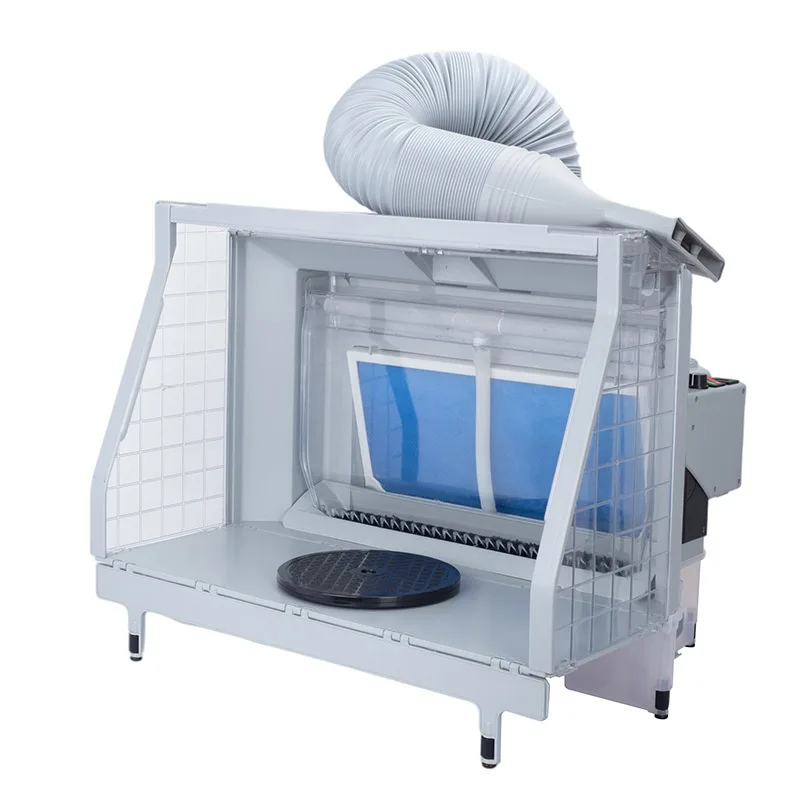
Cleaning an airbrush is the single most important skill for keeping your paint lines sharp, preventing spitters, and avoiding expensive nozzle or needle damage. Whether you spray acrylics, enamels, or lacquers, airbrush maintenance breaks down into three distinct tiers: quick color changes during a project, an end-of-session clean, and an occasional deep teardown when paint builds up inside the fluid passage.
Choosing the Right Cleaning Solvent
The solvent you pour into your paint cup must match the chemistry of the paint you just sprayed. Using the wrong solvent can curdle remaining paint into sticky clumps that clog narrow fluid passages.
- Water-Based Acrylics (Vallejo, Mission Models, Army Painter): Flush with warm water or dedicated acrylic airbrush cleaner. For stubborn dried acrylic film, isopropyl alcohol (70% to 99%) or household glass cleaner works quickly.
- Solvent-Based Acrylics (Tamiya, Mr. Hobby Aqueous): Clean with isopropyl alcohol, lacquer thinner, or dedicated brand thinners. Plain water will not fully dissolve these binders.
- Enamels and Oils: Flush with odorless mineral spirits, enamel thinner, or lacquer thinner. Avoid water entirely.
- Lacquers and Primers (Mr. Surfacer, Alclad): Use lacquer thinner or specialized tool cleaners. Lacquer thinner dissolves almost all model paints, but exercise caution around rubber seals.
Tier 1: The Quick Color Flush (Between Paints)
When swapping colors during a single painting session, you do not need to disassemble your airbrush. Perform this flush as soon as your cup runs dry.
- Dump excess paint: Wipe out the inside of the gravity cup with a paper towel or cotton swab to remove pooling paint.
- Add solvent: Pour a few drops of solvent into the cup.
- Back-flush the airbrush: Block the front needle cap tightly with a folded paper towel or a soft rubber cap, then press down and pull back gently on the trigger. Air will back-pressure into the fluid cup, bubbling the solvent and loosening paint caught around the needle tip and nozzle.
- Dump and wipe: Pour out the dirty fluid onto a paper towel and wipe the cup clean.
- Spray clear: Add clean solvent and spray forward into an airbrush cleaning pot or waste container until the spray mist runs completely clear.
Tier 2: The End-of-Session Clean (Daily Routine)
At the end of every spraying session, clear the entire fluid path so no paint cures inside overnight.
1. Remove the Needle from the Front
Loosen the needle chucking nut at the back of the airbrush. Instead of pulling the needle out through the rear—which drags wet paint from the cup back into the internal trigger mechanism—pull it carefully out through the front of the airbrush body whenever possible, or wipe it thoroughly clean as you slide it out.
2. Wipe and Inspect the Needle
Dampen a paper towel or microfiber cloth with solvent and wipe the needle from the thick shaft toward the tip. Always wipe away from the sharp point to prevent bending the needle tip or puncturing your fingers.
- Clean the air cap and nozzle cap: Unscrew the front needle cap and air cap. Dip a cotton swab or small interdental brush in cleaner to wipe away dried paint crust (often called "tip dry") inside the caps.
- Reinstall carefully: Slide the needle back into the body from the rear until it seats firmly against the inside of the nozzle. Do not force or slam the needle forward, as excessive pressure can split fine metal nozzles. Tighten the needle chucking nut.
Tier 3: Full Deep Clean & Teardown
Perform a full teardown when you notice performance issues—such as double mists, bubbling in the cup during forward spray, or an unresponsive trigger—or when storing the brush long-term.
| Step | Action | Key Caution |
|---|---|---|
| 1. Disassemble Rear | Unscrew the rear handle, loosen the chucking nut, and carefully withdraw the needle. | Store the needle on a flat surface where it cannot roll off the bench. |
| 2. Remove Front Components | Remove the needle cap, air cap, and nozzle cap. Use the included wrench to gently unscrew micro-thread nozzles (or lift out drop-in nozzles). | Never over-torque tiny threaded brass nozzles; threads strip easily. |
| 3. Soak & Brush Passages | Soak metal caps and nozzle in solvent. Use mini micro-brushes or reamers to clear the cup throat and interior passages. | Keep harsh solvents like pure acetone away from non-PTFE rubber O-rings. |
| 4. Reassemble & Test | Reinstall the nozzle, replace caps, slide the needle into position, tighten the chucking nut, and test spray water. | Ensure internal air valve components remain dry and free of solvent. |
For more detailed information on setting up an efficient extraction area or choosing compatible hardware for your workbench, explore our guides on airbrush compressor sets and workbench spray booths.
Troubleshooting Common Airbrush Cleaning Issues
- Bubbles appearing in the paint cup: Air is leaking into the fluid path. This usually means the front air cap or nozzle cap is loose, the nozzle thread seal is worn, or dried paint inside the nozzle cap is obstructing forward airflow.
- Paint stops spraying while air still flows: Check for paint dried on the needle tip ("tip dry") or a blockage at the bottom throat of the paint cup. Perform a quick back-flush or wipe the needle tip with solvent.
- Sticky or sluggish trigger: Paint has seeped backward into the airbrush body and dried around the trigger stem or needle guide. Disassemble the trigger assembly, clean the guide channel with solvent, and apply a tiny drop of airbrush-safe needle lube before reassembly. Always consult your specific airbrush model documentation for lubrication instructions.